Interested in the eco-friendly and textured beauty of painting with limewash? This comprehensive guide will show you everything from the basics of limewash, how it compares to traditional paints, to practical steps for applying it to your walls. Whether you’re a DIY enthusiast or looking to refresh your space with natural finishes, we provide the knowledge you need, without the sales pitch.
- Limewash paint is an eco-friendly and naturally made alternative to synthetic paints, offering a unique, matte aesthetic due to its ability to absorb carbon dioxide from the atmosphere. This process forms crystals of calcium carbonate, which enhance the paint’s protective qualities and deepen its color.
- It’s essential to prep walls properly for limewash, as it works best on porous surfaces such as bricks, lime plaster, and stonework, to ensure durability and adhesion.
- Applying limewash is an art—start with thin layers, have patience for slow drying, and consider crafting a custom blend with natural pigments for a personal touch that can be adapted for both interior and exterior surfaces.
Unveiling the Charm of Limewash Paint
Lime wash paint, also known as limewash paint or lime paint, is a natural and eco-friendly alternative to regular paint that has been captivating homeowners and designers alike with its unique allure. Unlike standard paint, lime wash paints create a soft, matte appearance, lending walls a distinctive texture and depth.
From off whites to greys, blues, greens, pinks, and yellows, you’re spoilt for choice with this versatile paint range of modern lime paint. Eager to explore the world of lime based paints? Let’s continue!
The Basics of Limewash
The beauty of limewash lies in its simplicity. It’s crafted from limestone or chalk, both rich in calcium carbonate, which is slaked with water to produce calcium hydroxide, commonly known as slaked lime. By mixing this lime with natural pigments, you can create a rainbow of limewash colours to adorn your walls. Coloured limewash changes from a wet to a lighter dry shade, and thorough mixing before use is crucial to achieve the desired effect.
Excited about making your own limewash masterpiece? Let’s move forward!
Limewash vs. Traditional Paint
But what sets limewash paint apart from traditional paint? The answer lies in its natural composition. While synthetic paints are often teeming with chemicals and plastic resins, limewash is made from natural substances like lime, water, and pigments.
Moreover, limewash absorbs CO2 from the air during the curing process, forming a stable material known as calcium carbonate. Limewash works by sinking into surfaces and hardening through carbon dioxide absorption, resulting in a deep matte appearance and protective qualities. It’s a win-win situation for your home and the environment!
The Aesthetic Appeal
One of the most enticing aspects of limewash is the transformative effect it can have on your interior spaces. Its chalky textured paint softens standard paint colours, resulting in a warmer, more inviting finish. Not to mention, the colour of limewash paint evolves throughout the application process, creating a dynamic aesthetic that will intrigue and captivate your guests. Limewash creates depth and luminosity on walls with its unique mottled appearance and feathered brush strokes. For those seeking a similar effect, chalk paint is another option to consider.
Limewash might be your perfect match if you’re aiming to add warmth to a large, open space or infuse character into a room.
History and Cultural Significance
Origins of Limewash
Limewash paint has a rich history that dates back to ancient times, with evidence of its use found in Roman and Greek architecture. The origins of limewash can be traced to the use of limestone, which was crushed, burned, and mixed with water to create a lime putty. This natural material was then colored with pigments to create a unique and durable paint. Limewash was highly valued for its ability to protect surfaces from the elements while also providing a beautiful, matte finish. Over time, limewash has evolved to become a popular choice for interior walls, with many manufacturers now offering a range of limewash paints made from natural materials.
Historical Applications in Architecture
Historically, limewash was used extensively in architecture, particularly in the construction of buildings with stone, brick, and plaster surfaces. The use of limewash on previously painted walls and surfaces helped to create a sense of continuity and cohesion, while also providing a protective coating against the elements. In many cultures, limewash was also used to create intricate designs and patterns on walls and ceilings, adding an extra layer of beauty and significance to buildings. Today, limewash is still used in many architectural applications, including the restoration of historic buildings and the creation of new, eco-friendly structures.
Preparing for Your Limewash Project
Proper preparation of your surfaces is imperative before plunging into your limewash project. Cleaning the walls and checking their porosity are crucial steps to ensure effective adhesion of the limewash and a successful transformation. It is also important to ensure the surface is clean and free of loose particles before applying limewash.
Surface Compatibility
Not all surfaces are created equal when it comes to limewash. This paint thrives on porous natural surfaces like:
- lime render
- cement
- bricks
- lime plaster
- stonework
This compatibility with traditional solid stone walls guarantees a durable, striking finish on exterior masonry surfaces.
If your home is an older property with porous surfaces, you’re in the right spot! You’re ready to discover the full potential of limewash. Limewash can also be applied to smooth surfaces, resulting in a suede patina finish without adding texture.
Cleaning and Prep Work
Preparation is key when it comes to limewashing. Here are the steps to follow:
- Ensure that your surface is clean and free from grease.
- Moisten the surface adequately before applying the limewash. This prevents rapid drying and ensures an even finish.
- Take your time and be patient during this phase.
For previously painted surfaces, it is essential to prime them first to achieve the best results when applying limewash.
Rest assured, your effort will pay off with the stunning final result!
Safety Precautions and Best Practices
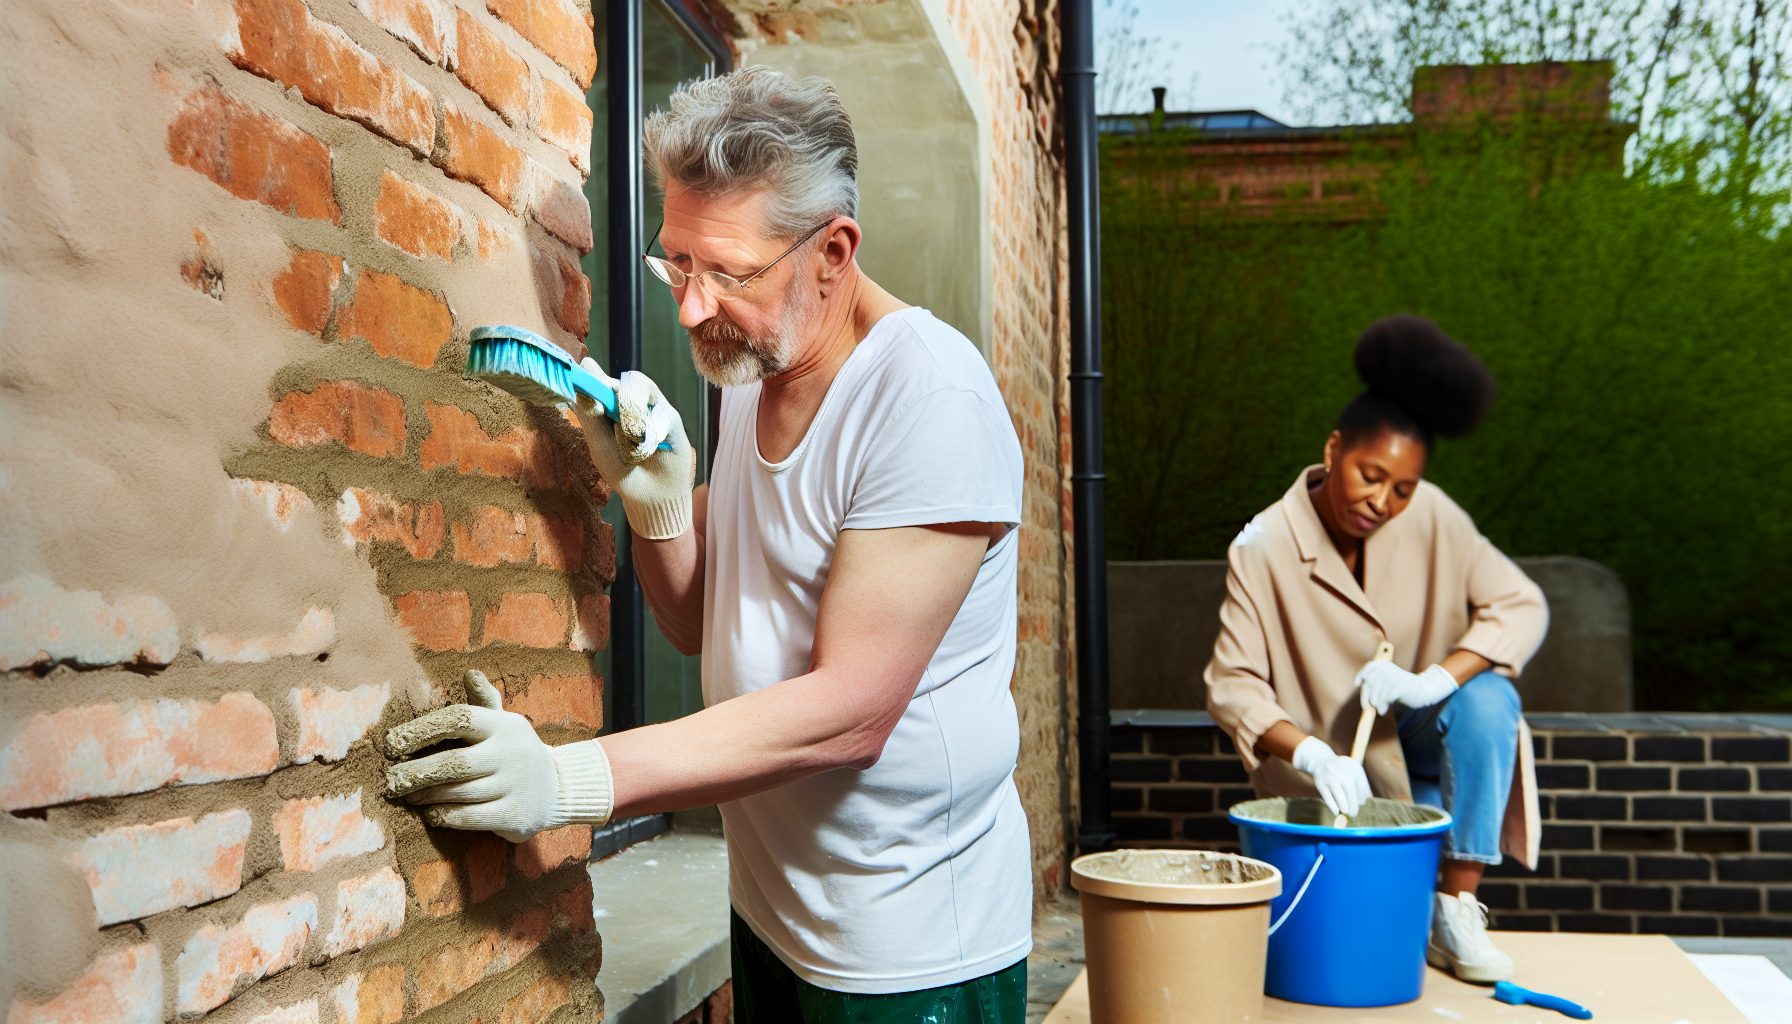
Protective Gear and Equipment
When working with limewash paint, it’s essential to take certain safety precautions to protect yourself and your surroundings. This includes wearing protective gear such as gloves, goggles, and a mask to prevent skin and eye irritation. It’s also important to work in a well-ventilated area, away from direct sunlight and moisture. When applying limewash, use a high-quality masonry paintbrush to achieve a smooth, even finish. Avoid using excess paint, as this can lead to a dark colour and uneven brush strokes. Instead, apply thin coats, allowing each coat to dry completely before applying the next. This will help to create a beautiful, naturally white finish that is free from brush marks and other imperfections. By following these best practices and taking the necessary safety precautions, you can achieve a stunning limewash effect that will last for years to come.
The Application Process: Techniques and Tips
Now that your surface is prepped and ready, it’s time to apply your limewash. But wait, there’s an art to this process. From the first thin coat to achieving the desired colour and texture, let’s walk you through the techniques and tips that will ensure a beautiful finish. Limewash should be applied in multiple thin coats with a specific type of brush to achieve the best finish.
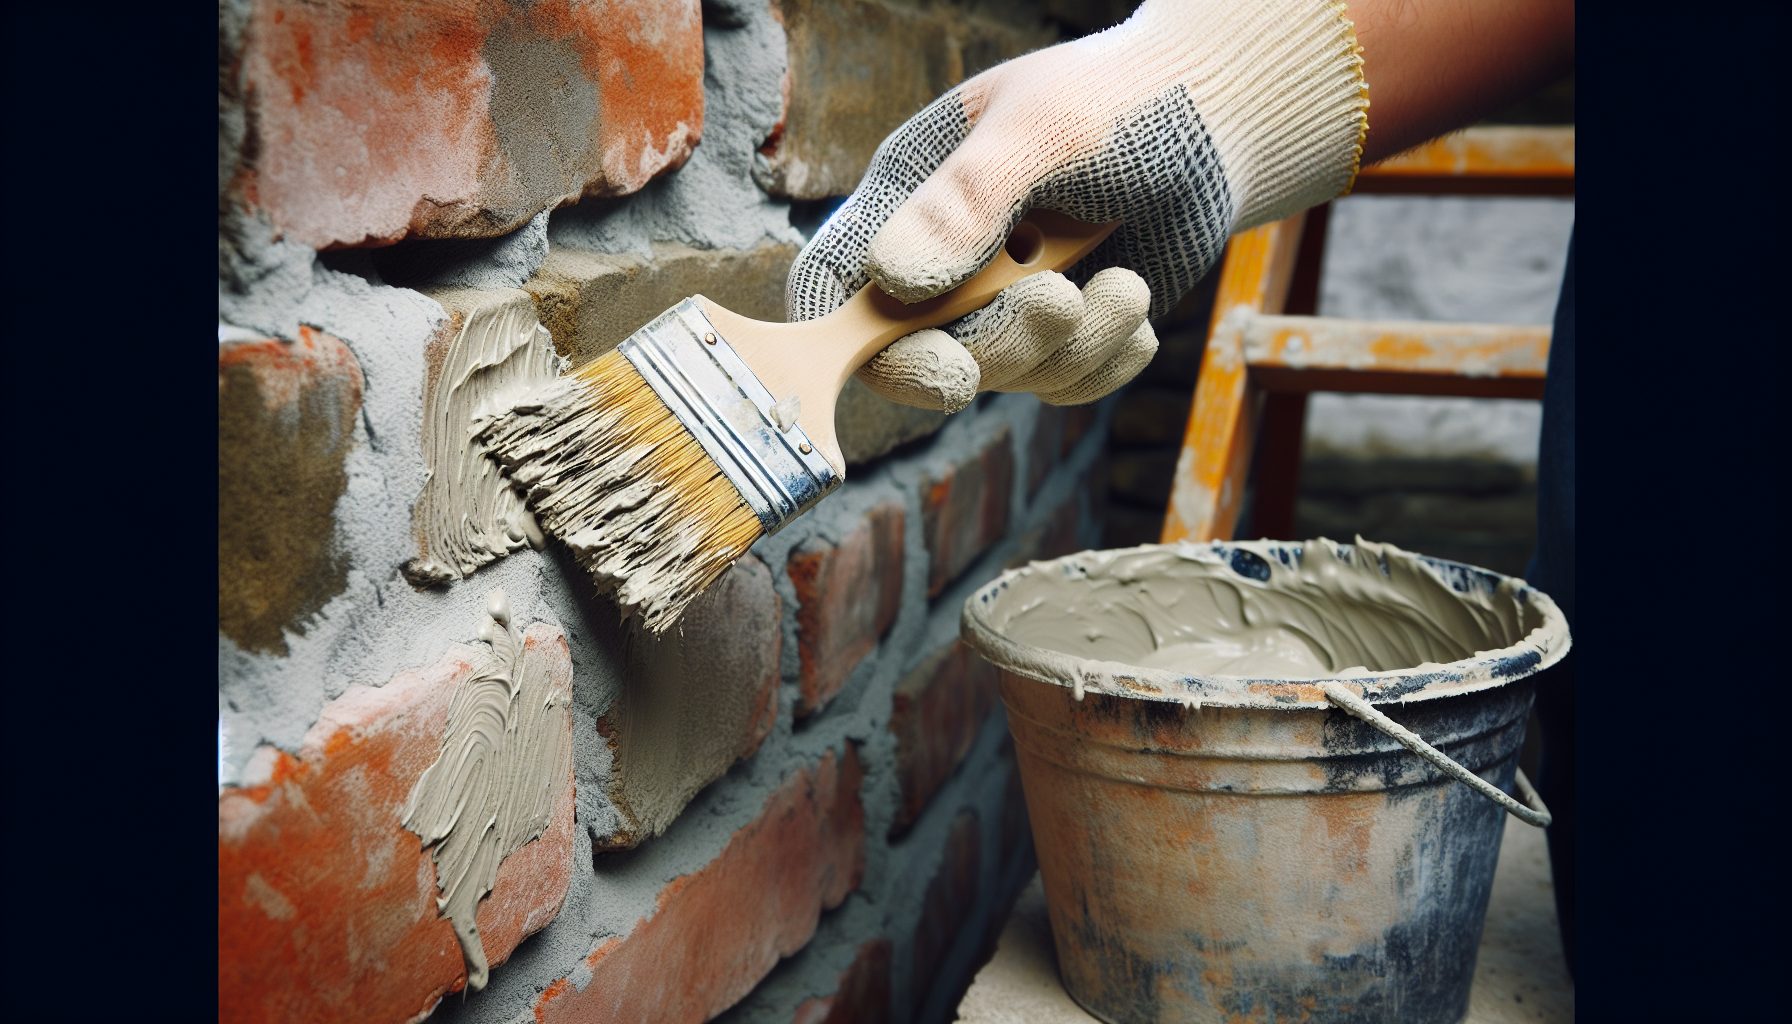
Applying the First Thin Coat
Ready to apply lime wash? Remember, less is more. Applying a thin first coat is crucial to prevent rapid drying and ensure an even finish. Use a flat brush or masonry paintbrush to get started and ensure the wash is worked well into the surface. Regular stirring of the limewash is also essential to maintain consistency. Patience is key; do not try to achieve full coverage in one coat, as applying a second or third coat will enhance the natural, chalky, and velvety finish of the paint.
You’ve embarked on your journey to a stunning limewashed wall using lime renders!
Achieving the Desired Colour and Texture
The beauty of limewash lies in its versatility. By layering multiple thin coats of slightly differently tinted limewash paints, you can create a nuanced finish that’s uniquely yours. And here’s a fun fact: limewash appears nearly 10 times darker when wet and lightens as it dries. So, don’t be surprised when your walls undergo a magical transformation! Limewash becomes significantly lighter as it dries, with the final shade being up to ten times lighter than the wet application.
Drying Times and Layering
Patience, my friend, is the secret to mastering the art of limewash. To ensure proper bonding and a durable finish, it’s best to allow the limewash to dry very slowly, ideally over a 24-hour period. And remember, only apply another layer after the previous one has fully dried. Allowing each coat to cure for 24 hours before applying subsequent coats can enhance the final finish, particularly in how moisture and drying conditions affect the durability and texture of the surface.
As the saying goes, slow and steady wins the race!
Crafting Your Own Limewash Blend

Ever dreamed of creating your own custom paint blend? With limewash, you can! By selecting your own pigments and achieving the right consistency, you can craft a limewash blend that’s a true reflection of your personal style. Traditional limewash is also an environmentally friendly option for wall finishes due to its natural composition, free of harmful solvents.
Selecting Pigments for Custom Colours
Whether you’re after a vibrant pop of colour or a muted, earthy tone, it’s all possible with limewash. You can create a variety of shades by adding natural earth pigments, ocher, or oxide pigments to the lime putty. Limewash is primarily off white in its base form, and additional colors are achieved through the use of natural pigments.
Unleash your creativity and craft a limewash colour that’s distinctly yours!
Mixing and Consistency
Creating the perfect limewash blend isn’t just about the colour—it’s also about achieving the right consistency. For a primer coat, mix limewash at a ratio of 12 parts water to 1 part lime putty. For the finishing layers, use 1 quart of water per 1 kg of lime putty, adding pigment for colour.
Applying a thick coat of limewash can enhance coverage and improve the overall finish compared to thinner applications.
You’re all set to create your limewash masterpiece!
Maintaining and Refreshing Limewashed Walls
Once you’ve achieved your dream limewashed walls, how do you keep them looking fresh and well-maintained? From gentle cleaning methods to touch-up techniques, we’ve got you covered. Limewashed walls can effectively conceal stains and dirt due to their organic texture and color variation.
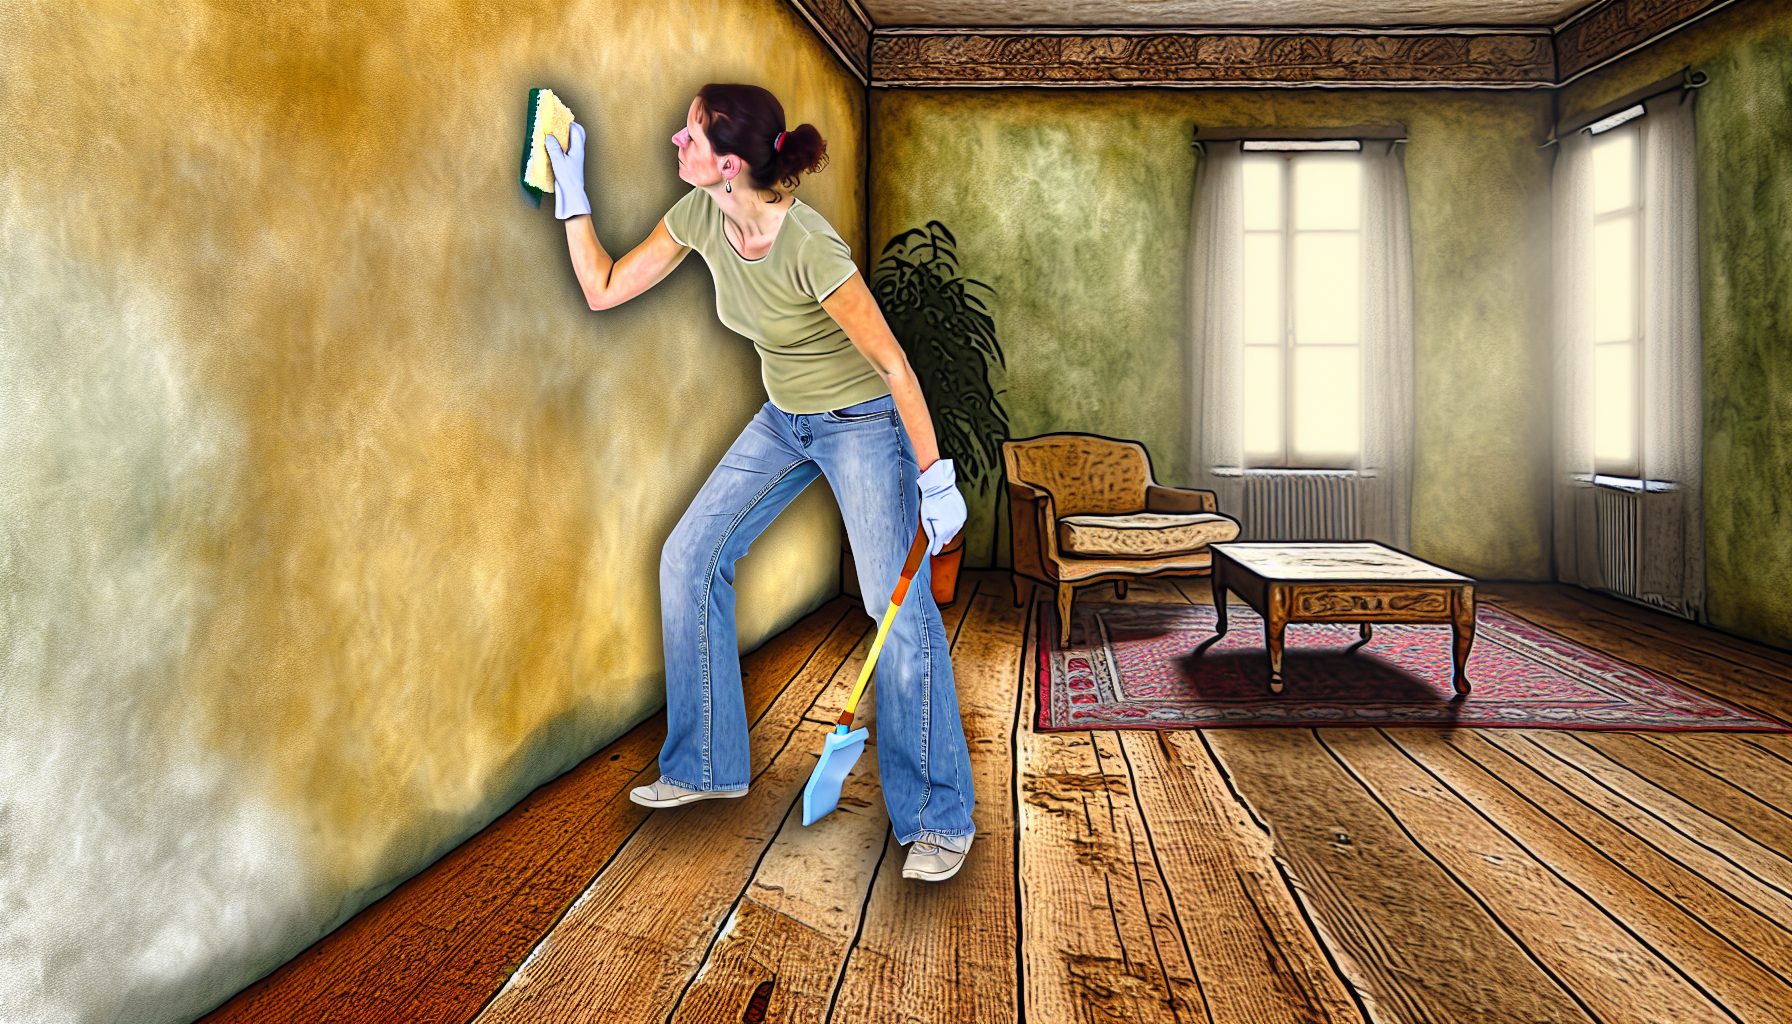
Gentle Cleaning Methods
When it comes to cleaning limewashed walls, gentleness is key. Use the following steps to remove any accumulated dirt without damaging the unique finish:
- Mix warm soapy water.
- Dip a gentle sponge into the soapy water.
- Gently scrub the surface of the limewashed wall, being careful not to over-wet the surface.
- Rinse the sponge frequently in clean water to avoid spreading dirt.
- Dry the wall with a soft cloth or towel.
Remember, traditional lime products like limewash aren’t as washable as modern coatings and will dissolve when wet. So, take care to avoid over-wetting the surface.
Touch Ups and Recoating
Over time, your limewashed walls might need some touch-ups or recoating. If areas become powdery, simply spray with water and apply another coat. For visible brush strokes, blend well, especially in areas of thinner coverage. A gentle re-coat can help blend any repairs seamlessly into the existing surface.
These tips will ensure your limewashed surfaces always maintain their best appearance.
Adapting Limewash for Exterior Surfaces
Did you know that limewash isn’t just for your interior walls? You can also adapt it for exterior surfaces. Whether it’s for a heritage building or to provide protection against the elements, limewash can be a fantastic option for your exterior walls as well. Limewash can be applied directly over various breathable surfaces like brick, cement, stucco, and plaster.
Suitability for Heritage Buildings
Limewash has a long history of being used on historic buildings, both inside and out. Its compatibility with traditional building materials like:
- lime-based mortar
- natural stone
- brick
- plaster
makes it a preferred choice for restoration projects. Plus, the natural weathering of limewash adds to the historic charm and character of heritage buildings. Applying a second coat of limewash can significantly enhance the appearance of the surface, ensuring that underlying imperfections are concealed.
If maintaining the authenticity of your heritage building is your goal, limewash makes an excellent choice!
Protection Against the Elements
Apart from its aesthetic appeal, limewash also offers the following benefits:
- It protects against the elements
- It prevents the growth of mould and mildew due to its natural fungicide properties
- By adding traditional additives like tallow, oil, resin, wax, cellulose, or linseed oil, you can enhance its water-repellent properties.
Applying two coats of limewash can significantly improve the appearance and durability of the surface.
Lime wash offers you the best of both worlds – style and substance!
Styling with Limewash: Ideas and Inspiration
Armed with the knowledge of limewash’s charm and techniques, you’re now ready to unleash your creativity! Here are some ideas to inspire you:
- Use vibrant colours for a playful space
- Try muted earthy tones for a calming ambiance
- Experiment with tone-on-tone effects for added depth
- Combine limewash with contrasting materials for a unique look
Attention to trim can enhance the visual appeal of the painted surfaces and complement the overall color scheme of a room.
Limewash offers a world of possibilities, so let your imagination run wild!
There are limitless possibilities when it comes to styling with limewash!
Summary
We’ve journeyed from the basics of limewash to its application, maintenance, and styling. With its unique charm, eco-friendly composition, and versatility, limewash is truly a timeless paint option. Whether you’re revamping a historic building or just want to add a warm, inviting ambiance to your home, limewash offers a world of possibilities. Compared to traditional wall paint, limewash provides a distinctive texture and depth that can create drama and a unique aesthetic in any space. So, why not experiment with limewash for your next project and create a space that’s uniquely yours?
What are the disadvantages of lime wash paint?
Lime wash paint can be beneficial for deterring wood-boring beetles and sterilizing walls, but it requires a lot of care for the best results, can be challenging to match coloured batches, and is less successful in very fast-drying conditions. Matching coloured batches is difficult, and limewashing is less successful in very fast-drying conditions. Applying a water-based primer is essential to ensure proper adhesion when repainting limewashed surfaces.
Is limewash paint a good idea?
Yes, limewash paint is a great idea because it’s breathable, nontoxic, eco-friendly, and mould-resistant due to its high pH level, while also being odourless during application.
How do you apply limewash paint?
To apply limewash paint, use a flat brush or masonry paintbrush, stirring well before and during application. Work the wash into the surface in thin coats, avoiding runs or drips. It’s best to apply in small areas, spreading thinly and working vigorously for best results. Avoid applying too thickly to prevent cracking or crazing.
Can you use limewash over paint?
Yes, you can use limewash over paint to transform the appearance of various surfaces like drywall, plaster, stucco, brick, and more. Give it a go and see the difference it can make!
What is lime wash used for?
Lime wash is used for decorating traditional properties, providing a breathable paint finish with a unique, matt appearance and helping consolidate and improve the surface of both old and new plaster. It’s a great option for achieving a classic, natural look in your home.